How To Do These Beauty Routines At Home
The DIY Series.
Introducing the DIY series — a series of easy how-to guides on four essential home beauty activities. Because you can do it yourself!
Source: ioneDigital/HelloBeautiful / iONEDigital
With #SocialDistancing in full effect, getting your weekly or bi-weekly nail appointment is officially out of the equation. While there are tons of memes circulating social media of how our nails, hair and eyebrows will look post-quarantine, it’s easy to think that you won’t be steeping foot inside of a salon anytime soon.
And while we have a long way to go before things get back to normal, that doesn’t mean that you have to miss out our on regular beauty treatments. Sure, you may not have the midas touch of your nail tech, but that doesn’t mean you can’t learn how to pull a pedicure together while you have some free time.
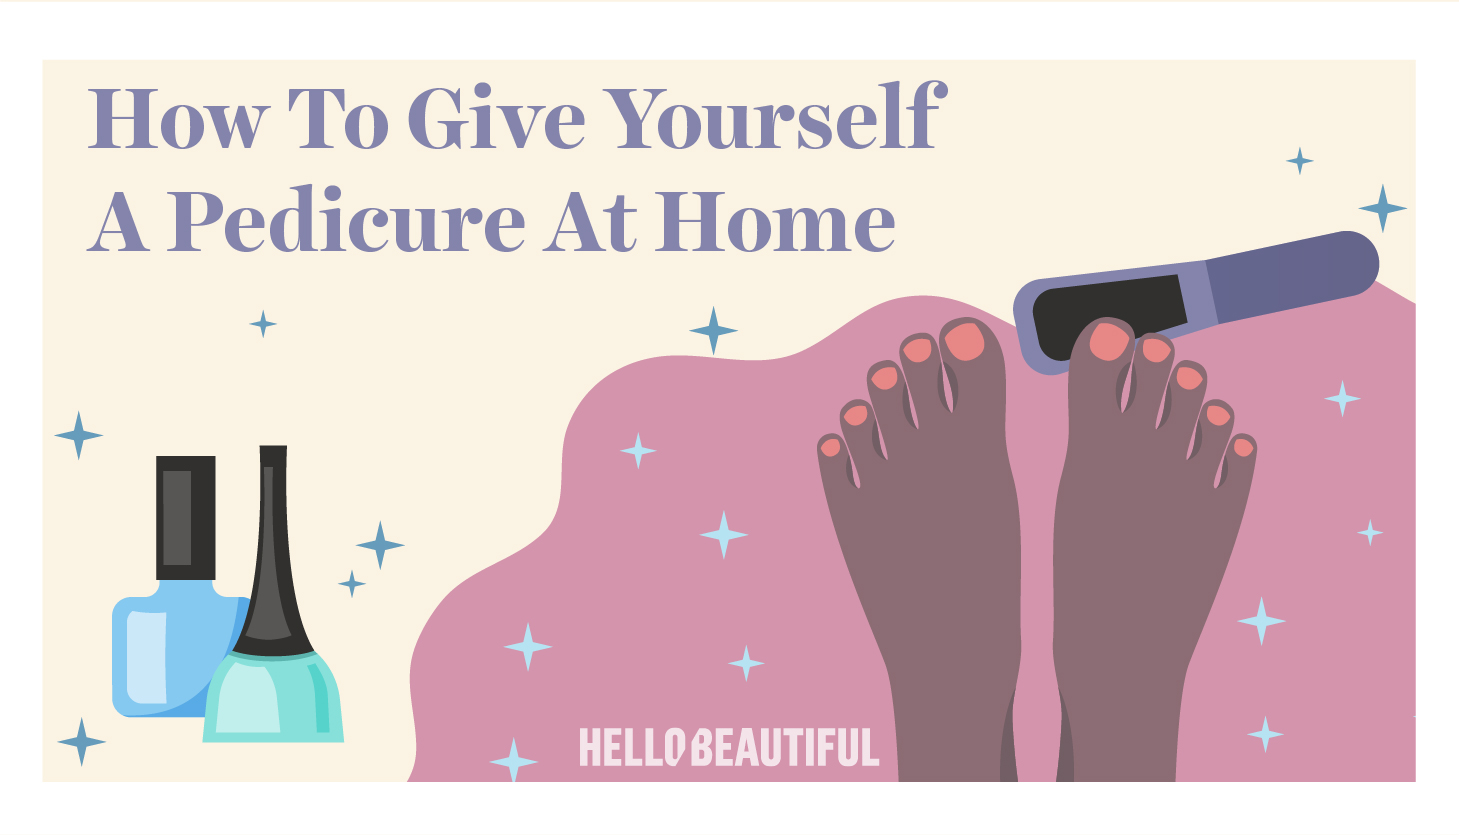
That’s right! Now is a great time to take your beauty skills to the next level, and we’re here to help you create a top-quality pedicure right at home. Keep reading as we give you the lay of the land to get your toes in mint condition.
1. Remove Any Old Nail Polish
Before you get started, it’s time to remove your old nail polish. Wet a cotton ball with nail polish remover or acetone and swipe away your old nail color.
2. Soak Your Feet
Add a few bath salts in your tub or basin along with warm water and soak your feet for 10 minutes.
3. Apply A Foot Scrub
Apply a nourishing foot scrub, like the Tree Hut Shea Sugar Scrub ($6.59, Amazon.com) to your feet. Gently rub all over your feet making sure to concentrate on your heels, toes and bottoms of your feet for a smooth finish.
4. Use A Pumice Stone
Follow up with a shower gel, like the Dove Body Wash Pump For Dry Skin Deep Moisture Sulfate Free Moisturizing Body Wash($8.18, Amazon.com) over your feet and use a pumice stone to rub gently over your feet. Once complete, pat dry with a towel.
5. Apply Moisturizer & Cuticle Cream
Next, you’ll want to apply moisturizer and cuticle cream to damp feet to lock in moisture. We love the Lush Cosmetics Softy Foot Lotion ($13.95, Lush.com) and the (Lush Cosmetics Lemony Flutter ($19.95, Lush.com). Once you moisturize your feet, apply a small amount of lemony flutter to your cuticles and push them back with an orange stick to keep them in place.
6. Clip & File Your Nails
Clip and file each of your toe nails into a square shape. Be sure to buff each nail properly to ensure your nails have a smooth surface.
7. Swipe Your Nails
Soak a cotton ball in nail polish remover and swab over each nail to remove excess oil and moisture.
8. Apply Your Base Coat
Apply a thin base coat of the Essie Here To Stay Base Coat ($9.00, Ulta.com) to your nails and let them dry.
9. Swipe On Your Lacquer
Apply a quick dry nail polish, like the Essie Throw It On ($9.00, Ulta.com) to your nails. Once dry, wait a minute or two then apply an additional coat.
10. Top It Off
Seal your color in place with the Essie Speed Steer Ulta Fast Dry Top Coat ($10.00, Ulta.com)on your nails. You’re all set!
UP NEXT: How To Give Yourself A Wax At Home
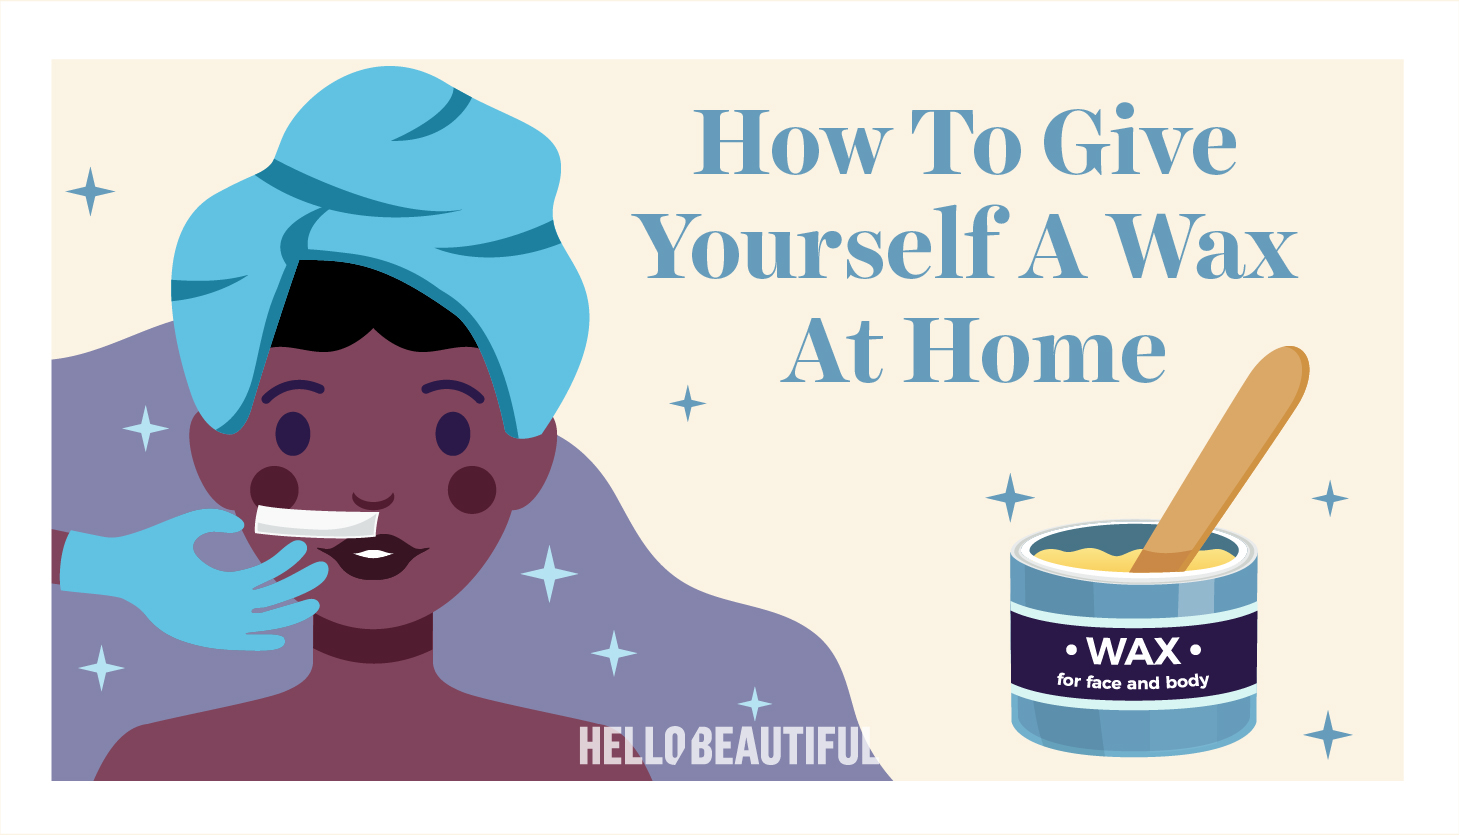
How To Give Yourself A Wax At Home
Source: ioneDigital/HelloBeautiful / iONEDigital
With a strict #SocialDistancing rule in place, you probably haven’t been able to stay on top of your waxing schedule. And chances are, you may be in need of a wax. And while the thought is enough to scare the heck out of you, if you want to enjoy hair-less skin you may need to take matter into your own hands. Yes, we mean a DIY wax.
And we know you’re not a licenses wax specialist, but that doesn’t mean you can’t learn how to wax your own skin. And you don’t have to go back to shaving. Think about it: You can save a few coins along the way and if you like removing your own hair, you may even ditch your wax tech altogether.
So, if you’re ready to learn how to do a wax at home, you’ve come to the right place. Grab a pen and pad or bookmark this article to work your way to smooth skin.
1. Check Your Hair Growth
Like it or not, before you can even think of waxing any area on your body, your hair length has to be up to par. Basically, your hair should be about 1cm long to achieve desired results.
2. Exfoliate
Once you’ve determined that your hair is at the right length, it’s time to prep your skin. And the best way to start off is by exfoliating the area. Exfoliation worls to remove and dead skin build up and wprks to lift your hairs for a more effective waxing session. While some people prefer face scrubs, we love the LUV SCRUB Mesh Body Exfoliator ($15.00, Luvscrub.com). Simply apply your favorite body wash or bar soap to this bath cloth and massage over the body.
3. Apply Talcum Powder
Whether you sweat when you’re worried or just prone to breaking a sweat, it’s important to soak up all moisture before you apply wax. Simply dust a little powder on the specific area and you’ll be all set.
4. Prep Your Wax
Depending on the wax you’re using, it’s always smart to read the instructions listed on the label to get desired results. For the sake of eliminating mess, we like the Avashine Wax Strips for Arms, Legs, Underarm Hair, Eyebrow, Bikini and Brazilian Hair Removal ($15.99, Amazon.com). Simply warm up the wax strip with your hands and separate the wax strips to expose the wax sides.
5. Apply Your Wax
Apply the strip along the direction of your hair growth and smooth down the wax on the area. Pull the surrounding area of skin to help make the process less painful. Pull the strip quickly in the opposite direction of your hair growth.
6. Repeat
Repeat the process until your skin is hair-free.
7. Post-wax Treatment
Now that the pain is behind you, it’s time to make sure that you keep your skin in proper shape. Apply the Relax & Wax No-Trauma Momma ($13.50, Amazon.com) to skin after your wax to help soothe and prevent irritation.
UP NEXT: How To Give Yourself A Hot Oil Treatment
How To Give Yourself A Hot Oil Treatment

Source: ioneDigital/HelloBeautiful / iONEDigital
Hot oil treatments are great for any hair type, but are especially popular for rejuvenating dry and brittle hair. The treatment works by sealing the hair cuticle to help reduce dryness and frizz while increasing hair strength and blood flow in the scalp which may help promote healthier hair. The good news is that you don’t have to leave your house to do your own hot oil treatment. As long as you have plant-based oils at home such as olive, almond or coconut oil, you can give your mane an at-home boost just as good as any salon.
If you’re up for the challenge, here are a few quick and easy instructions to tackle your at-home hot oil treatment:
1. Boil Water
On your stove, add water to a small pot or saucepan, then place a heat-safe bowl (or smaller pot) inside it.
2. Grab Your Favorite Hair Oil
Add oil ($10.85, Walmart.com) to the bowl or smaller pot and heat until warm. Do not let the oil boil as the boiling oil can burn your scalp.
3. Rub It In
Once oil is warm (test a drop on your wrist to make sure the temperature is to your liking), apply to dry or damp hair. Work the oil into your scalp. Don’t forget your ends!
4. Rock Your Condition Cap
Wrap your hair with a conditioning cap (plastic cap or warm towel will suffice) and leave in your hair for at least 30 minutes. You can also leave the oil in your hair overnight for max hydration. ($21.99, Walmart.com)
5. Wash It Out
Once you’re ready, rise and shampoo at least twice to remove any excess oil from the treatment.
Condition and style as usual.
You can repeat these steps as many times as you’d like to keep your locks healthy and hydrated, even in the midst of social distancing!
Beauties, how have hot oil treatments worked for you?


